
I also meant to do a French seam, but in my haste to sew the dress, I forgot about doing that and just used a zig-zag stitch with the right sides together. But, it's held up fine in the wash and dry cycles in spite of that, which is really what matters most.
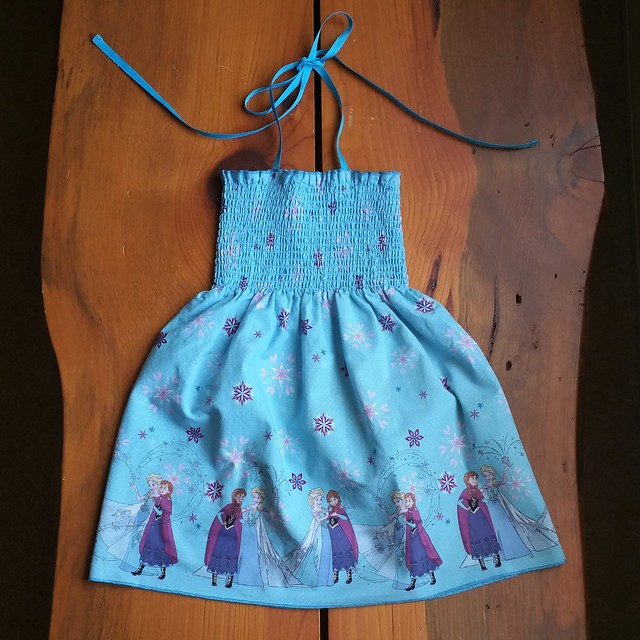
I finally had a chance to spend some time finishing (or in some cases, fixing) little projects that accumulated while I was busy with work over the last several months, so I not only added some grosgrain ribbon to the front of the dress, I also added a couple of hidden grosgrain loops in the back so that Evie had the option of wearing the dress a few different ways.
Finished dress
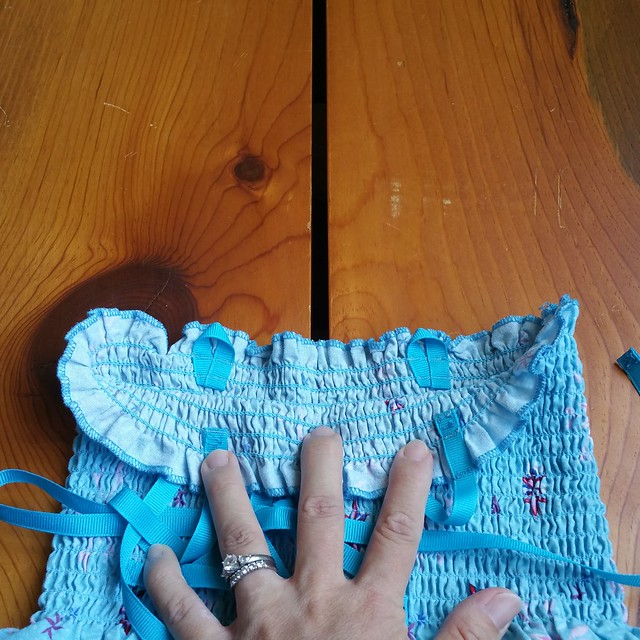
Loops added in the back
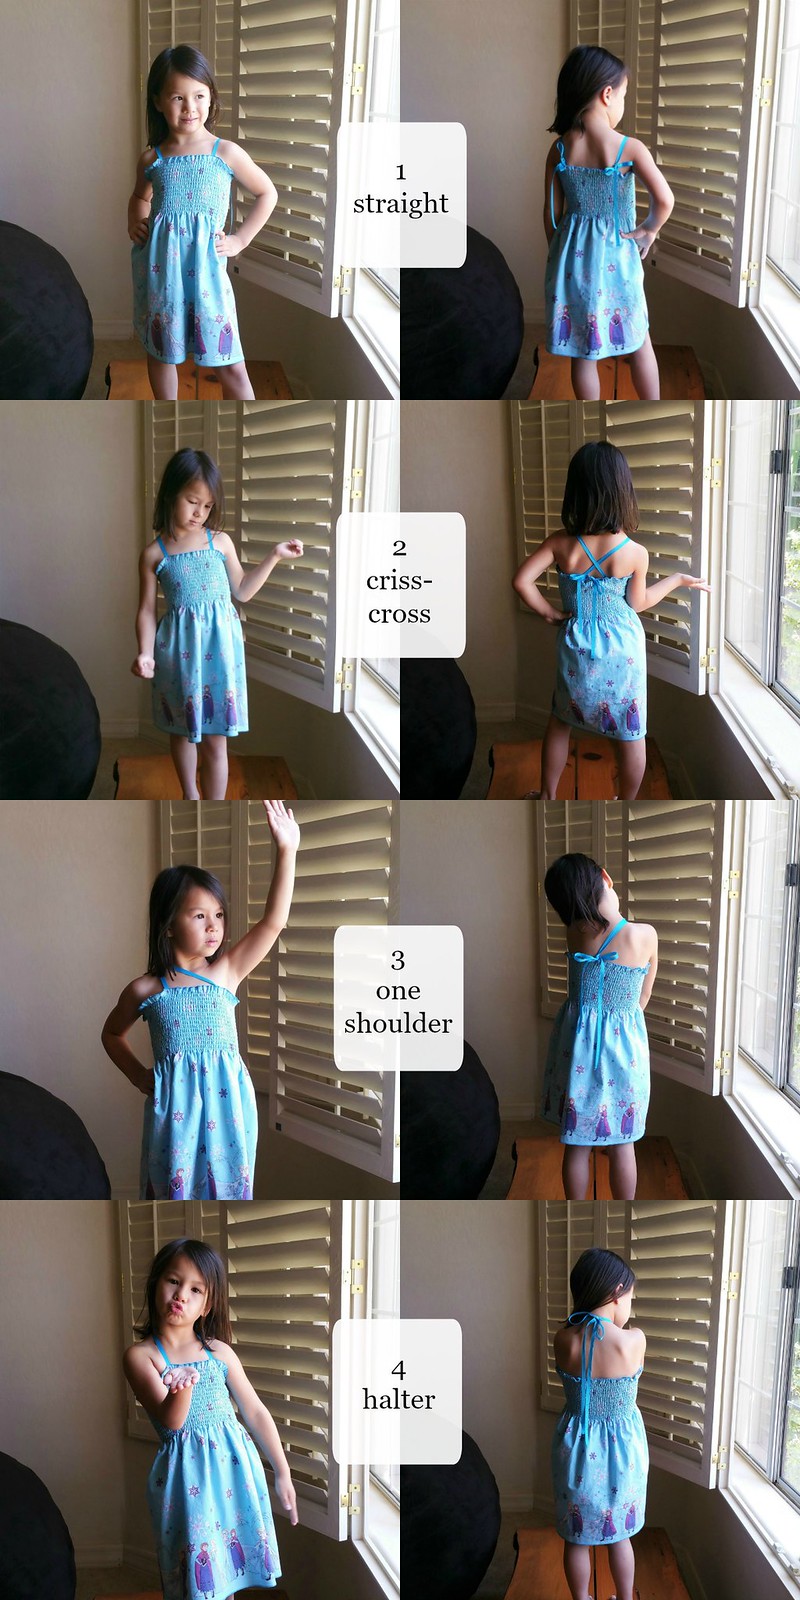
Different ways to wear the straps
Tips
- Using a serger is probably the most professional-looking to sew the dress seam. A French seam will also give a cleaner finish. Or, git-r-done by just using a zig zag stitch with right sides together. There are plenty of Pinterest tutorials with more details on how much pre-smocked fabric to get, such as this one for Easy Summer Sun Dress by Olives and Okra.
- I measured about 30 inches for the length of the grosgrain to sew to the front of the dress. It was probably on the long side, but I felt like that was safer than too short.
- On this particular pre-smocked fabric, the thread color used by the manufacturer to serge the selvedges was different than the elastic color for the shirring. Fortunately, I had thread colors already on hand from previous projects that were close to both, so I used close-to-matching thread colors to sew the grosgrain ribbon to the selvedge versus the shirring. This helped any imperfections (and they are there) blend in better so it is harder to tell.
- I eyeballed the length of the grosgrain loops on the back. My goal was to make sure I had enough ribbon to stitch over it twice (including folding the raw edges under), have enough loop that the ends of the front ribbons would easily slide through, and when not used, have the loops be hidden.
Also, all those poses from Evelyn? Didn't come from me, either by example or coaching. It's kind of hilarious to me that she just does all those. I actually had to rein in some crazy posing that she was trying to do, but I'm glad that she at least likes to pose for the camera and be in pictures!