
I previously made solid-colored numbers for monthly baby photo onesie badges (which, might I say, I think turned out super cute in Parker's monthly photos).
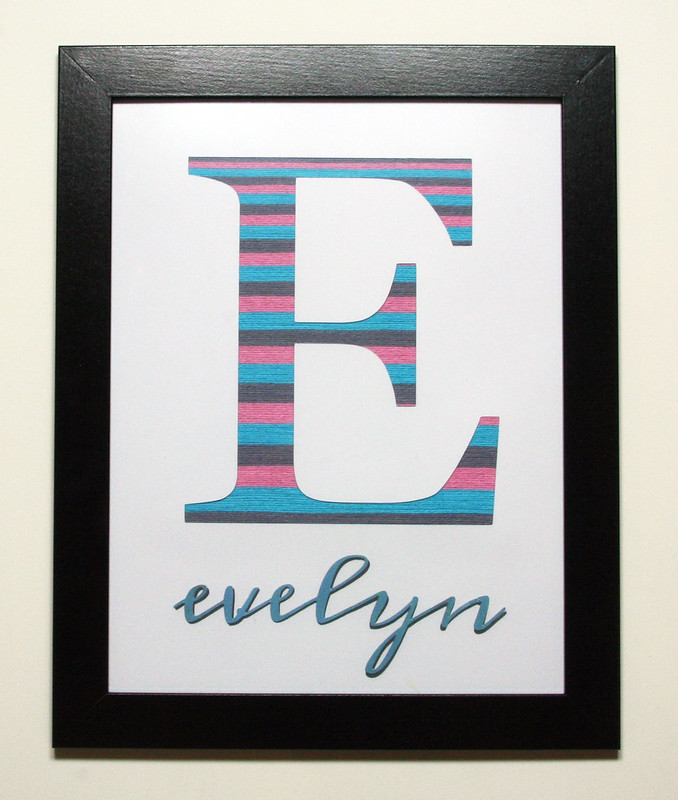
For my Whisker Graphics project this month, I made monogrammed solid twine art - super easy to make and add a little something personalized to the kids' rooms.
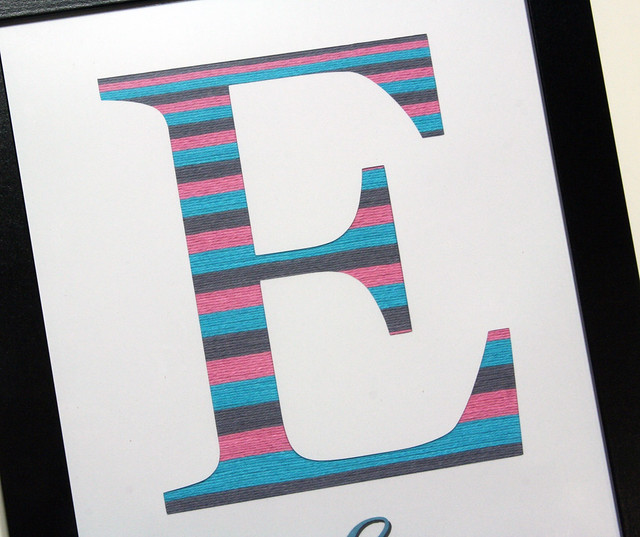
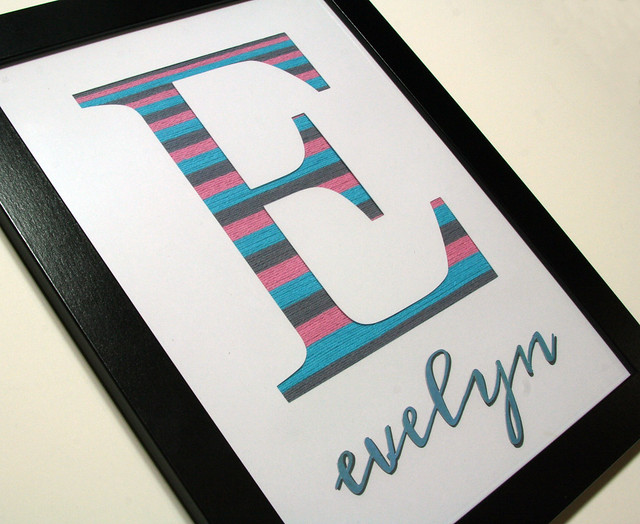
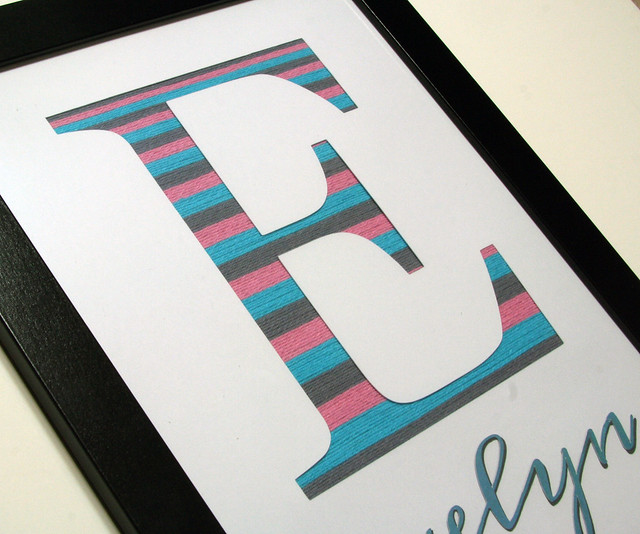
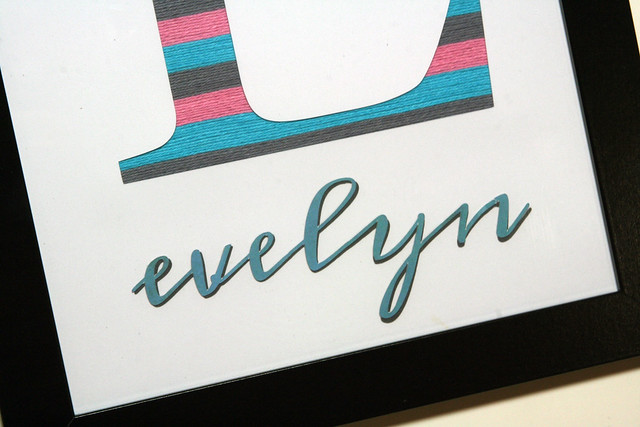
The "E" for Evelyn:
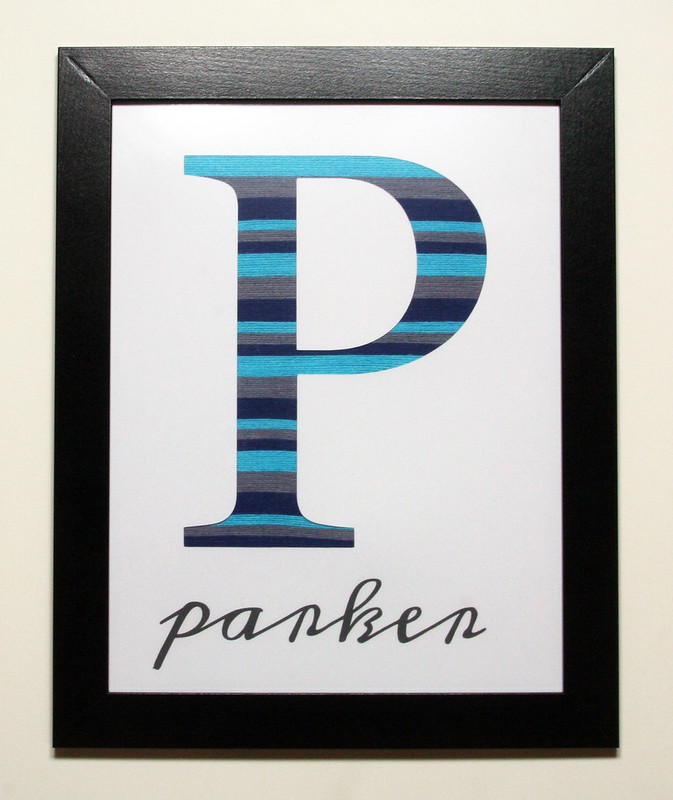
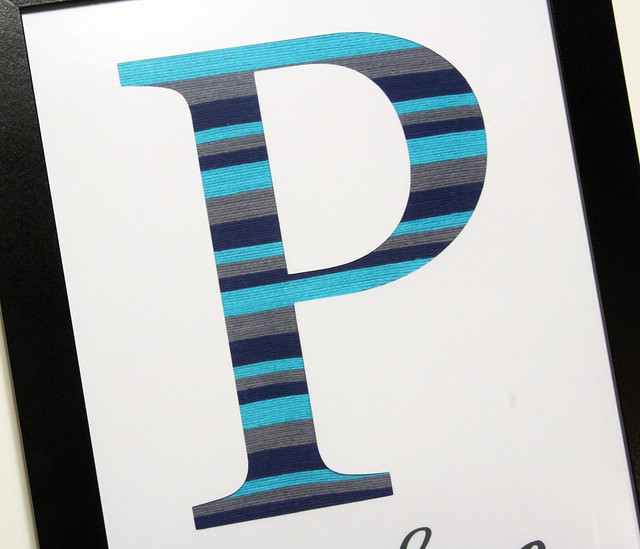
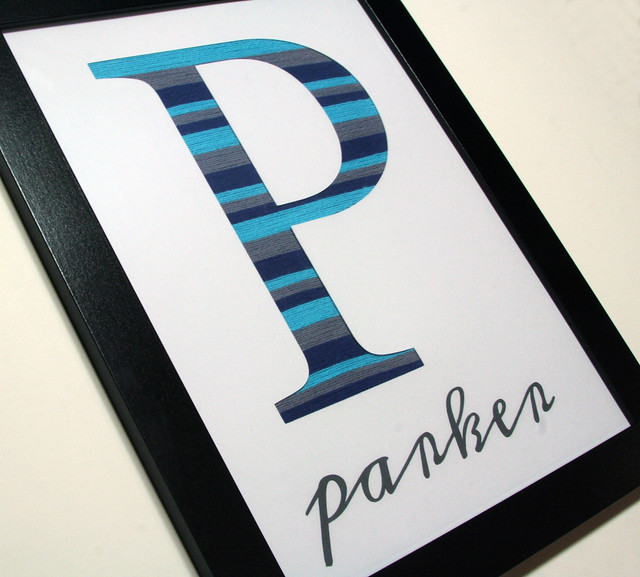
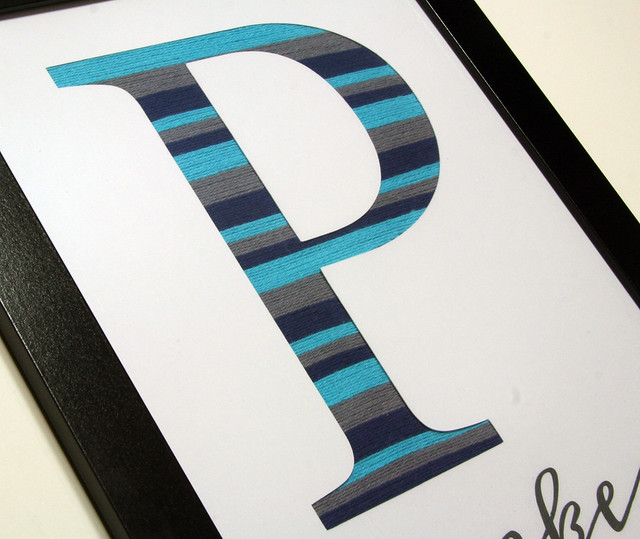
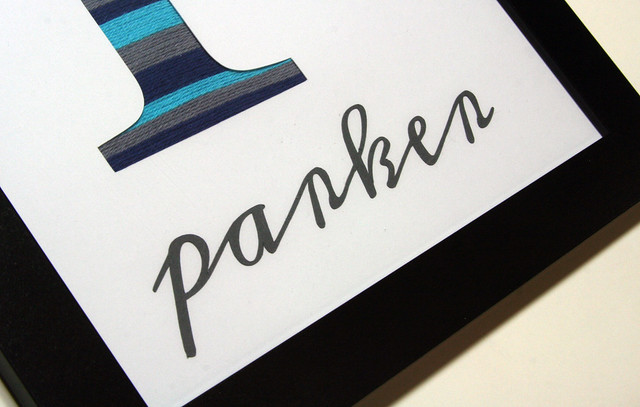
The "P" for Parker:
INSTRUCTIONS:
1. Design and cut the monogram letter using the Silhouette Cameo on an 8.5 x 11 piece of white cardstock.
2. Trace the letter onto another piece of 8.5 x 11 white cardstock
3. Cover traced letter with double-sided adhesive. I used Scrappy Tape.
4. Add twine to the double-sided adhesive. I switched up the rows of colors to be different heights
5. Cover the twine with the cut-out monogram. I also cut "evelyn" and "parker" with the Silhouette to add underneath each twine letter.
6. Insert into an 8.5 x 11 frame. I used a basic black frame from Ikea.
See this project on the Whisker Graphics blog here: Divine Twine Monogram
SUPPLIES:
Paper: 8.5x11 white cardstock
Embellishments: Solid Divine Twine in gray, navy, deep pink, and blue
Tools: Silhouette Cameo
Other: 1/2" Scrappy Tape