
The great thing about the Internet these days is that you can find how to do just about anything. In this case, I found this pin showing how to make a dream catcher, and it was super easy to execute!
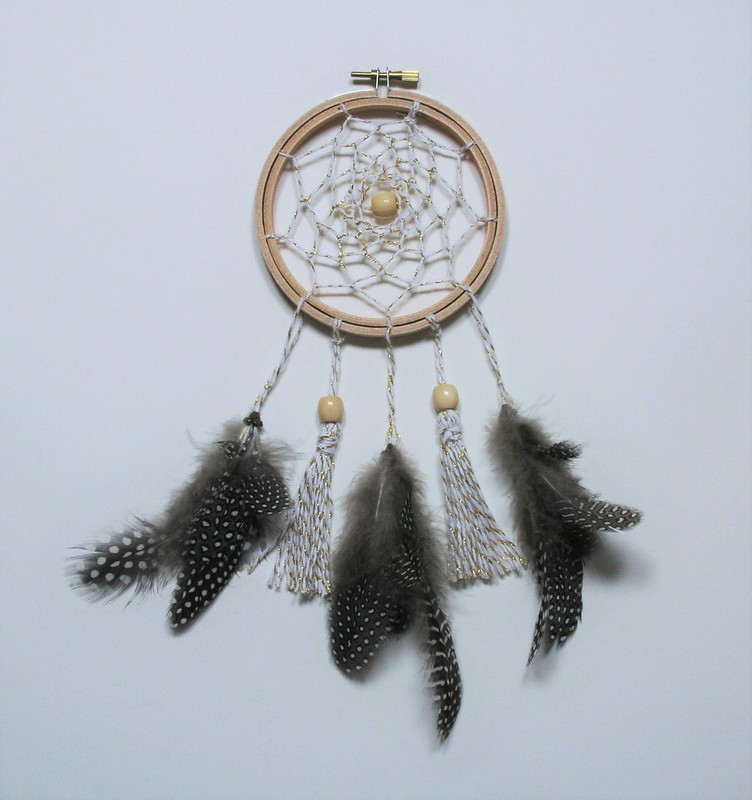
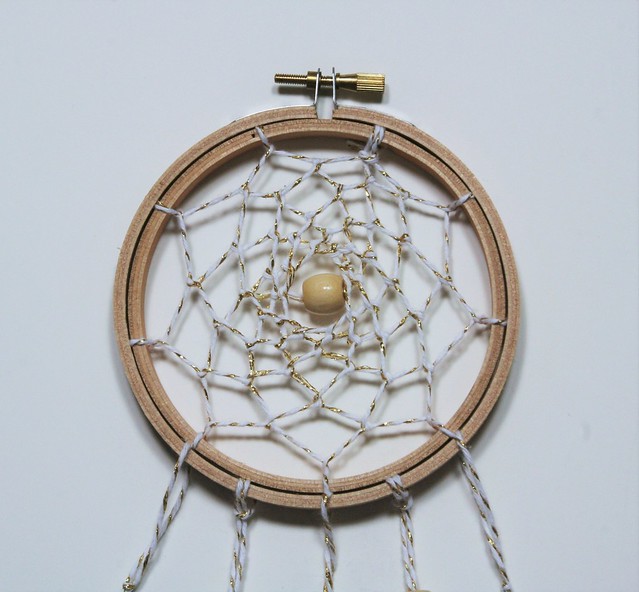
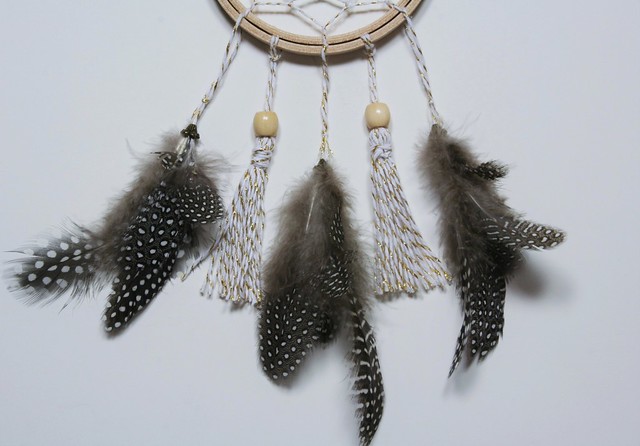
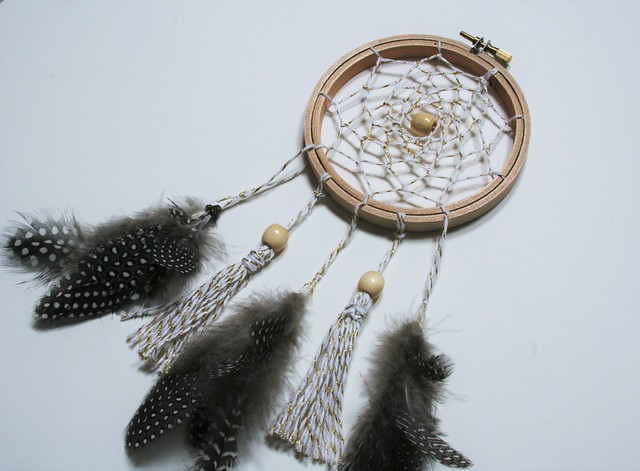
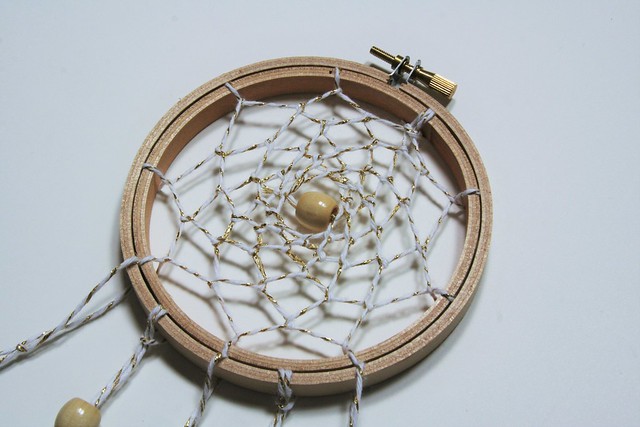
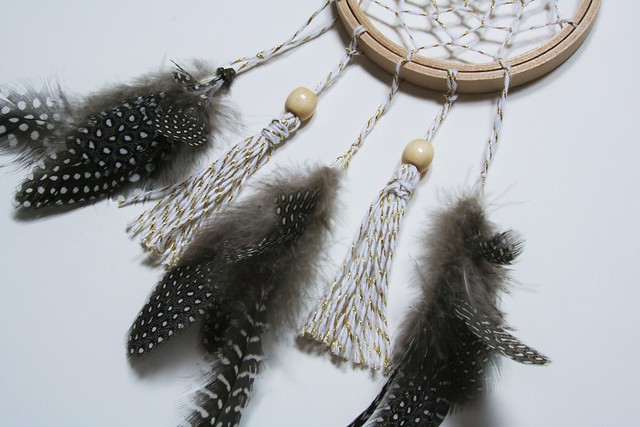
In addition to the twine and embroidery hoop, I also used some wooden beads, feathers, and bead cones. Before this, I hadn't realized bead cones were a thing, but they were pretty much what I was looking for when I went to the craft store, mulling over how to attach feathers to the dream catcher.
For the feather embellishments, I strung twine through the hole of the bead cone and knotted the end. Then I filled the inside of the bead cone with some hot glue and quickly stuck feathers in. Have the feathers ready to go though - the heat from the glue travels right through the metal and it's hot on the fingers!