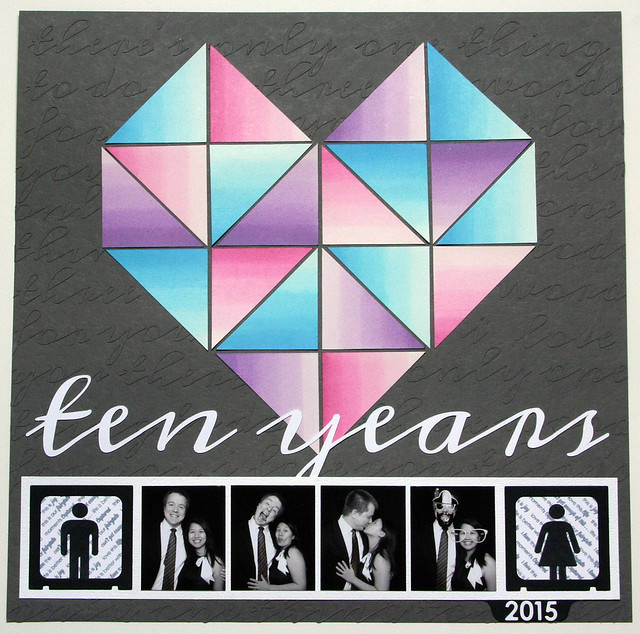
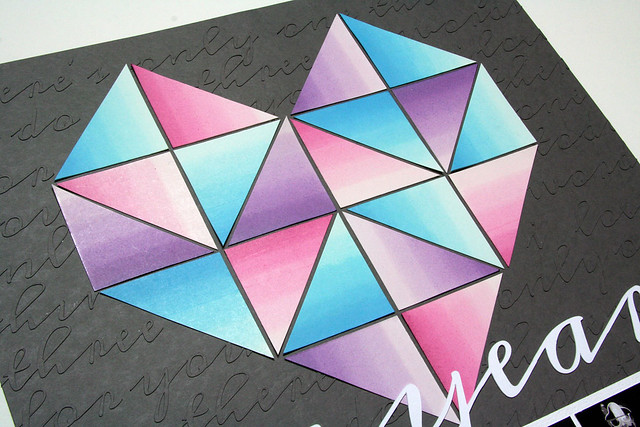
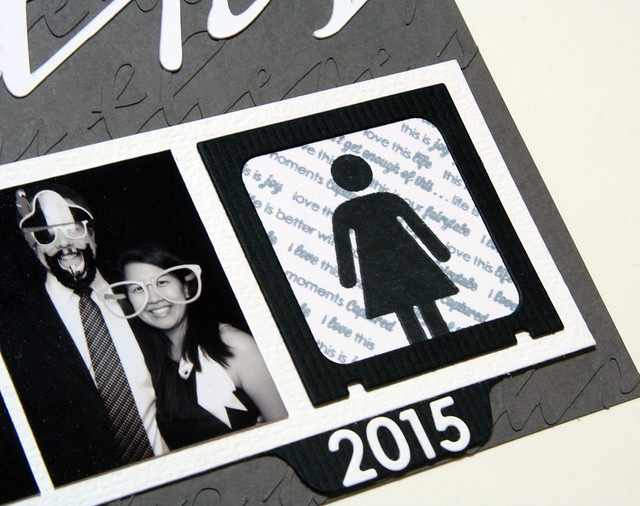
Dip-dying is an easy technique, but a bit of a time investment since you have to wait for the tags to dry a bit between dips (doesn't have to be completely dry, just not super wet). I think the end result is worth it though, especially after seeing the finished layout and how great the ombre tags look against the dark gray cardstock, along with the white and black accent colors.
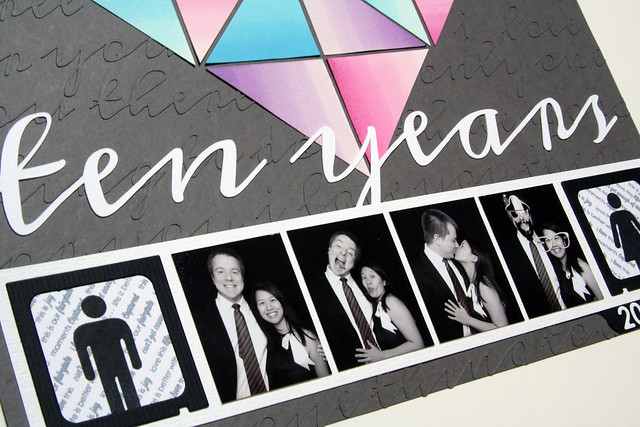
In addition to the dip-dyed ombre tags that make up the geometric heart, I used my Silhouette Cameo and the Meddon font from Google Web Fonts to cut out the hook from the Plain White T's song 1, 2, 3, 4 (the part that goes "There's only one thing to do three words for you I love you," which I really like and have used in the past on this business card mini book). The lyrics were cut from the same color of gray cardstock so there'd be texture in the background, but wouldn't detract from the heart. I also cut the lyrics in such a way that I have the negative part that can be used on a different layout. The "ten years" title is also cut with the same font, just bigger.
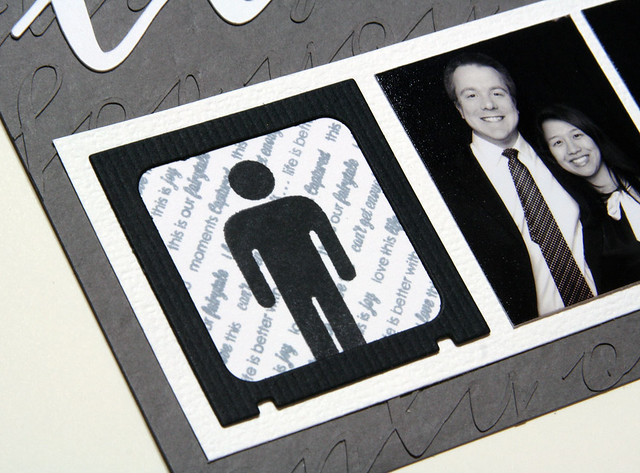
On either side of the photo booth photos are die cut slides from the April Pinkfresh Studio kit, stamped with the sentiment stamps from the kit for the background, and the Friends stamp set from Daisy Bucket designs for the focal point.
Side note: I would leave my dye supplies out during the day and just quickly dip the tags when I walked by every hour or two. I did, however, put the supplies out of sight after Evie came home, because I had scary visions in my head of her mistaking the liquid Rit dye for food coloring and drinking it (shudder).
INSTRUCTIONS:
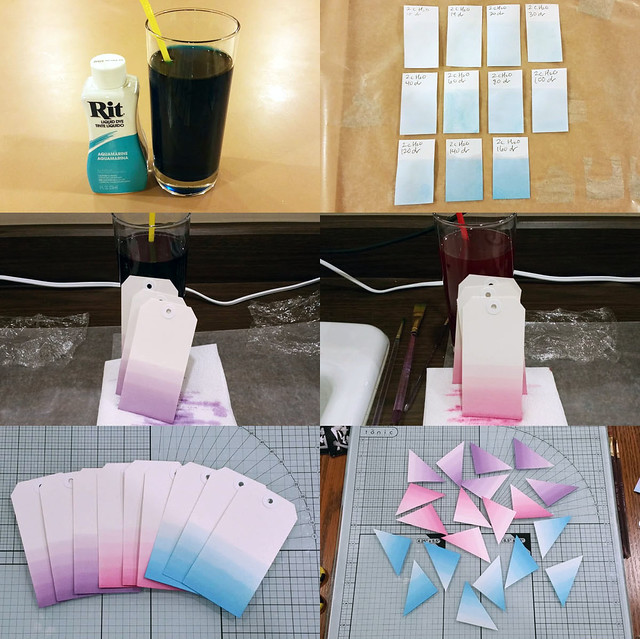
(from left to right, top to bottom)
1-2. I experimented with how much liquid Rit dye to add to water. I dipped some scrap cardstock each time I added Rit dye. I decided to add 160 drops of dye to 2 cups of water.
3-4. Fuschia and violet dying in progress.
5. End result of the dip dying
6. Cut the dip-dyed tags into squares, then triangles.
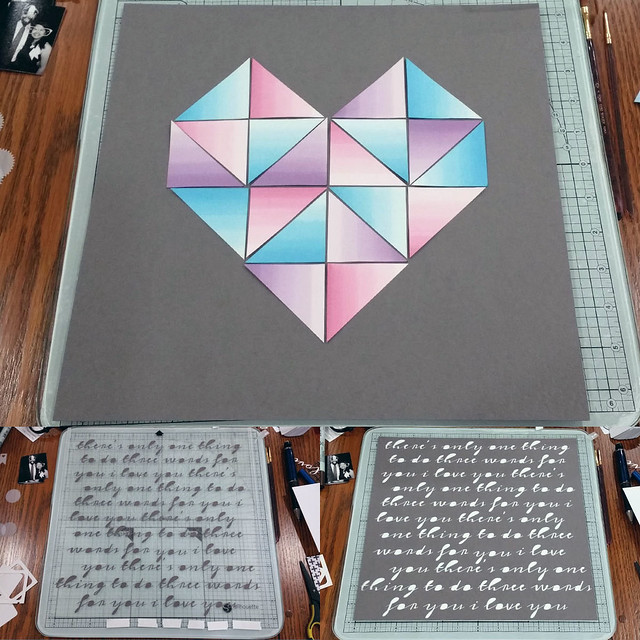
(from left to right, top to bottom)
7. Piece triangles into heart shape.
8. Using Silhouette, cut script lettering for background and adhere to layout around heart.
9. The leftover negative of the Silhouette cut out, to be used on another layout.
See this project on the Whisker Graphics blog here: Ombre Tag Art
SUPPLIES:
Paper: Bazzill Basics Paper (white, gray, and black cardstock); Whisker Graphics large white tags
Embellishments: Basic Grey alphabet stickers
Stamps: Pinkfresh Studio; Daisy Bucket Designs Friends stamp set
Tools: Pinkfresh Studio slide die; Silhouette Cameo
Ink: Ranger Distress Ink in Weathered Wood; Tsukineko Memento Tuxedo Black ink
Other: Rit dye in aquarmarine, fuschia, and violet; Meddon font from Google Web Fonts
